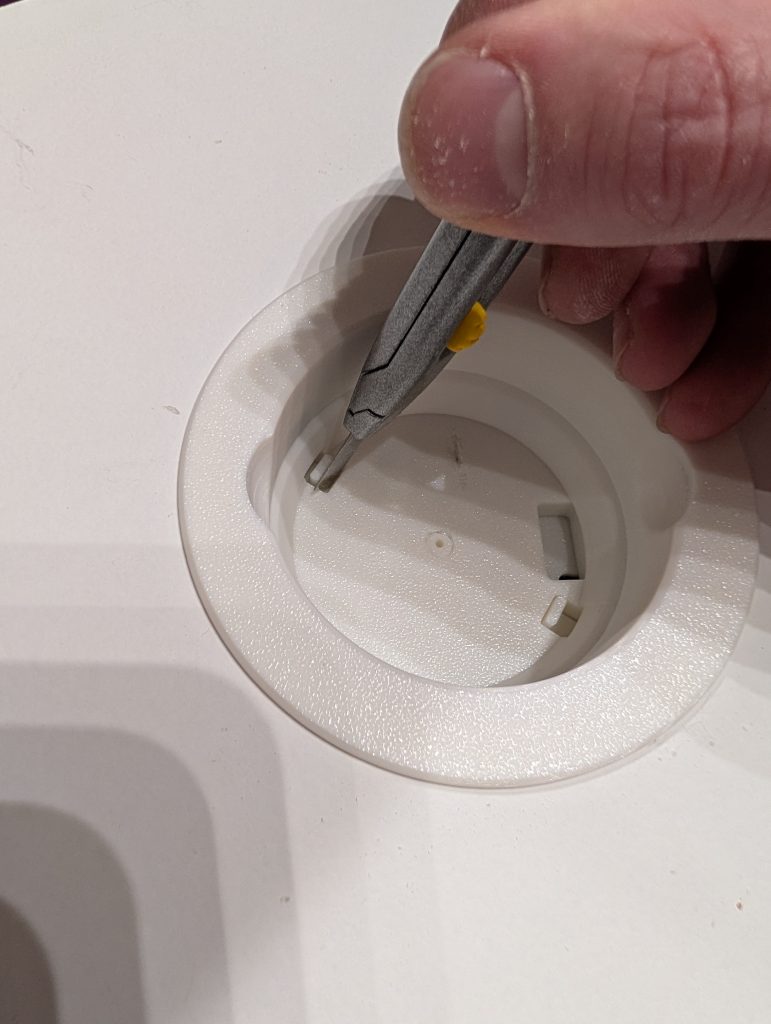
Disassemble the mount and pass the USB cable through the back of the mount. Assemble it back and so it is ready for instalation.
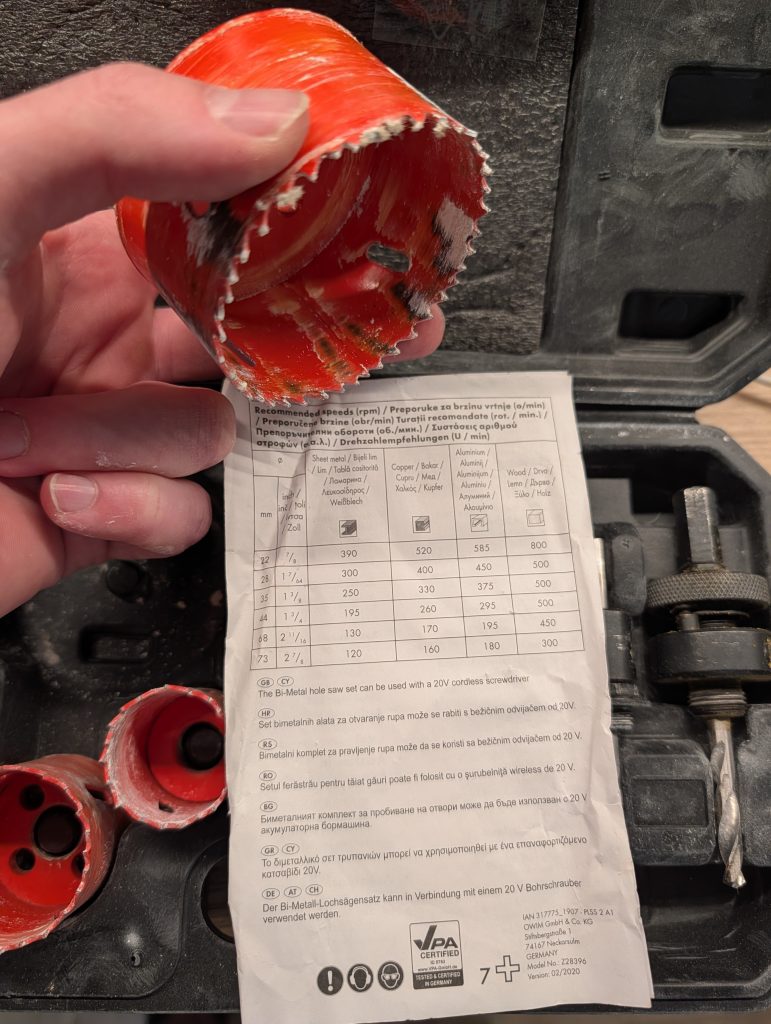
Use a standard 72 or 73 mm drill bit to cut a precise round hole into the dry wall sheet.
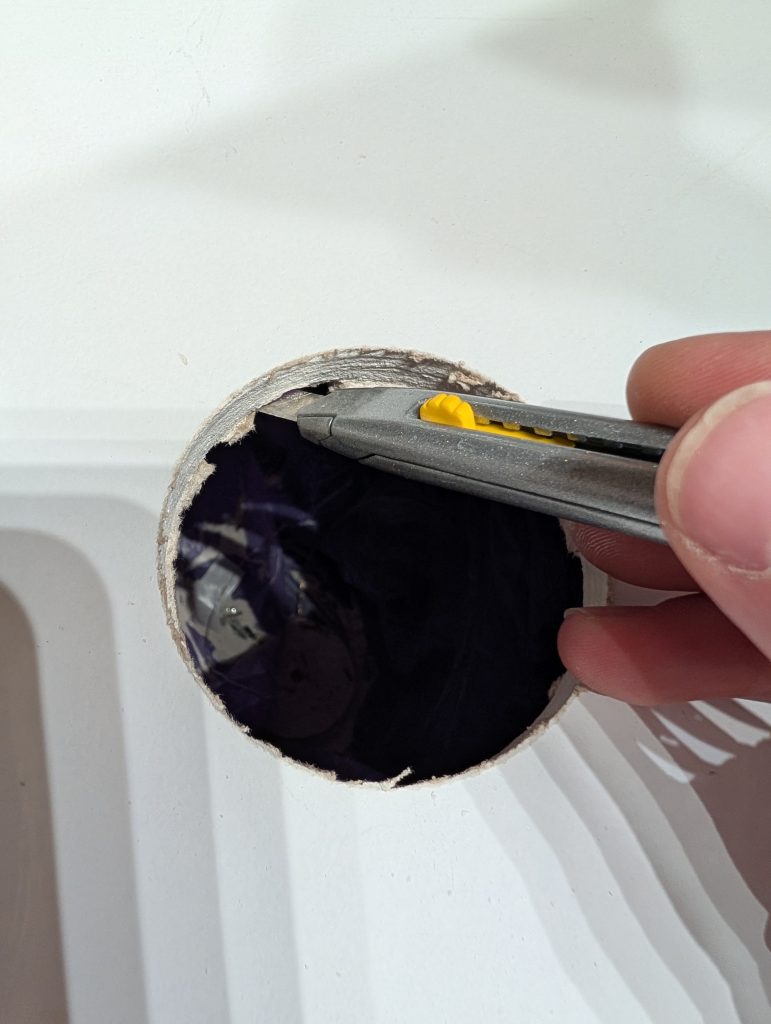
Make sure to cut and clean all sticking cardboard pieces, which might obstruct the mount latches. Keep in mind that the latches are quite small and short, so the hole shall be precise without any sticking paper in the places where the latches will clip on the drywall.
After inserting the mount into the hole, move the latches with something sharp all the way. The latch lever will move well inside the mount wall. When you are moving the latch levers towards the wall of the mount and they do not move freely but rather springy – you are feeling resistance and the lever returns back, then it means something is obstructing the latch. Either the mount isn’t inserted all the way through, the internal edge of the hole is not properly cleaned or the sheet is much thicker than it should. By default the mount is designed for a standard 13mm thickness of the sheet (which shall include the finish and the paint).
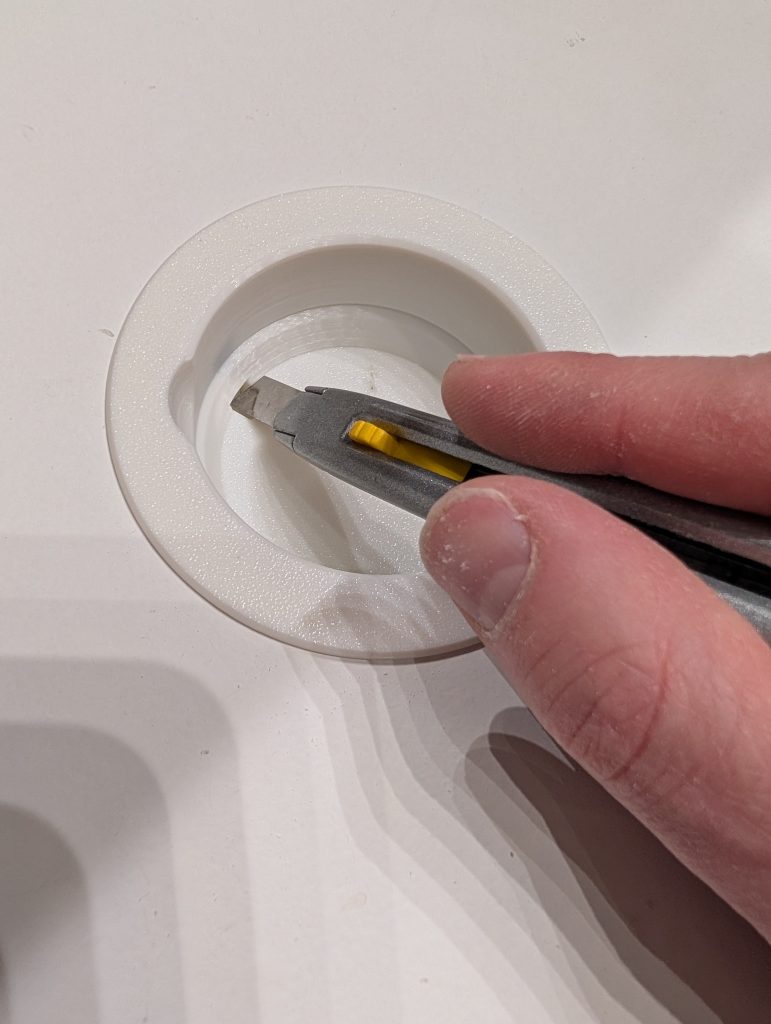
If you need to remove the mount, use a sharp object to stick into the visible part of the latch and move it towards the center of the mount, just after a few millimeters of movement the latch lever will appear. Then you could complete the un-latch movement all the may with your finger nail.